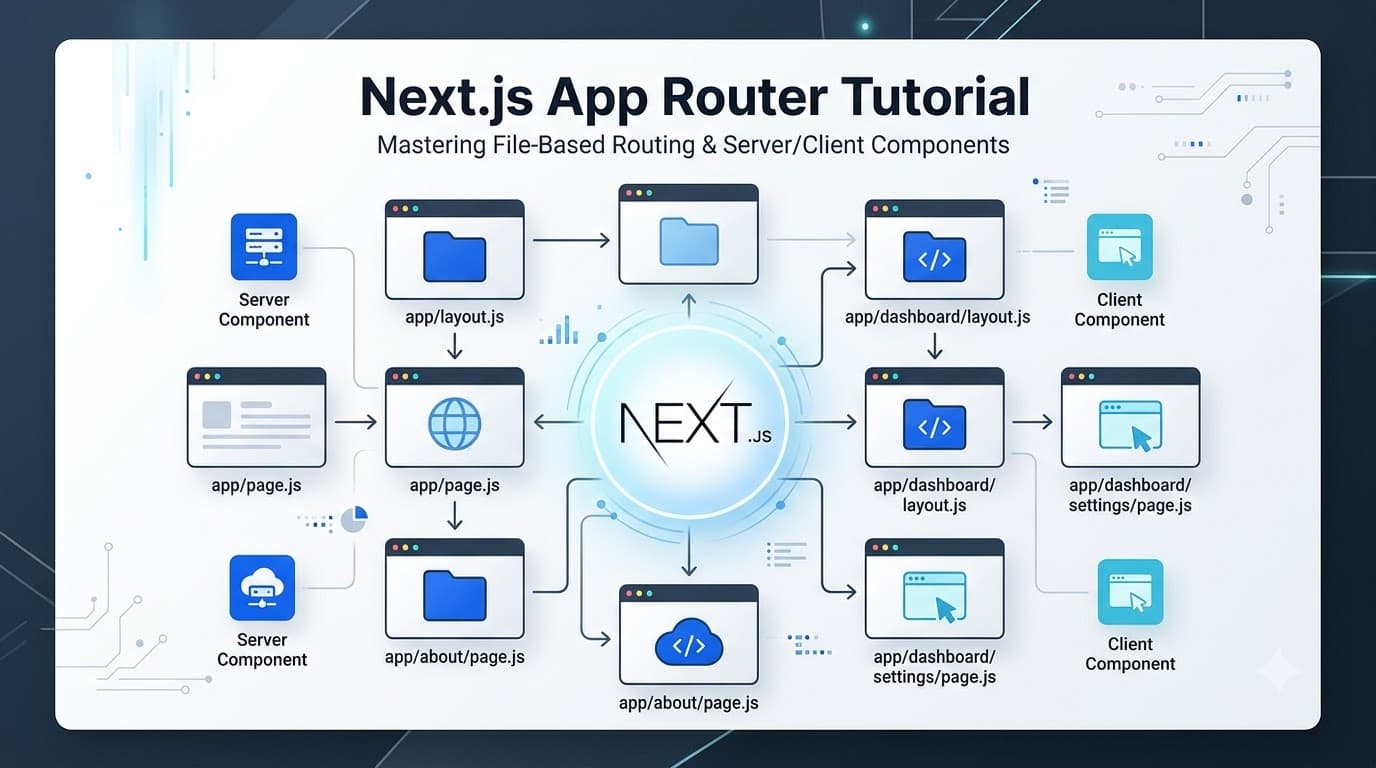
Next.js App Router Tutorial: Server Components, Routing and Data Fetching
The Next.js App Router is the modern routing architecture for building React applications with Next.js. It introduces a new way of organizing routes, layouts, data fetching, and components using the app directory and React Server Components.
If you're learning Next.js or migrating from the Pages Router, understanding the App Router is one of the most important steps toward building modern Next.js applications.
In this Next.js App Router tutorial, we'll cover:
What the Next.js App Router is
App Router project structure
Server Components
Client Components
Nested layouts
Dynamic routes
Loading and error states
Data fetching
Caching and revalidation
App Router vs Pages Router
Practical Next.js App Router best practices
What Is the Next.js App Router?
The Next.js App Router is a file-system-based routing system built around the app directory.
A typical Next.js application using the App Router may look like this:
app/
├── layout.tsx
├── page.tsx
├── about/
│   └── page.tsx
├── blog/
│   ├── page.tsx
│   └── [slug]/
│       └── page.tsx
└── dashboard/
    ├── layout.tsx
    └── page.tsx
The folder structure directly maps to URL routes.
For example:
app/page.tsx
creates:
/
While:
app/about/page.tsx
creates:
/about
A dynamic route can be created with:
app/blog/[slug]/page.tsx
which can handle URLs such as:
/blog/nextjs-app-router
/blog/typescript-generics
This file-based approach makes routing easier to organize as an application grows.
Next.js App Router Project Structure
Understanding the special files in the app directory is important.
Common App Router files include:
File | Purpose |
|---|---|
| Defines a route's UI |
| Shared UI that persists across routes |
| Loading UI |
| Error UI |
| Not-found UI |
| Creates an API endpoint |
| Similar to a layout but remounts on navigation |
For example:
app/
├── layout.tsx
├── page.tsx
├── loading.tsx
├── not-found.tsx
└── blog/
    ├── page.tsx
    └── [slug]/
        └── page.tsx
This structure allows routing and UI behavior to live together.
Server Components in Next.js
One of the biggest changes introduced with the App Router is the use of React Server Components.
Components inside the App Router are Server Components by default.
For example:
// app/page.tsx

export default async function Page() {
  const response = await fetch(
    "https://api.example.com/posts"
  );

  const posts = await response.json();

  return <PostList posts={posts} />;
}
The component can be asynchronous and retrieve data before rendering.
This is useful when a component doesn't need browser-only functionality or interactive state.
Server Components can help reduce the amount of JavaScript that needs to be sent to the browser.
Client Components in Next.js
Not every component should run exclusively on the server.
If a component needs browser-side interactivity such as:
useStateuseEffectEvent handlers
Browser APIs
Interactive UI
you can make it a Client Component.
Add "use client" at the top of the file:
"use client";

import { useState } from "react";

export function LikeButton() {
  const [liked, setLiked] = useState(false);

  return (
    <button onClick={() => setLiked(!liked)}>
      {liked ? "♥" : "♡"}
    </button>
  );
}
The "use client" directive tells Next.js that this component belongs to the client-side component boundary.
Server Components vs Client Components
A simple way to decide which component to use is:
Use a Server Component when the component primarily needs server-side data or rendering.
Use a Client Component when the component requires browser-side interactivity or state.
For example:
Page
│
├── Header          → Server Component
├── BlogList        → Server Component
│
└── LikeButton      → Client Component
This approach allows interactive components to remain client-side without turning the entire page into a Client Component.
Nested Layouts in Next.js
Nested layouts are another important feature of the App Router.
Suppose you have:
app/
└── dashboard/
    ├── layout.tsx
    ├── page.tsx
    ├── users/
    │   └── page.tsx
    └── settings/
        └── page.tsx
You can create a shared dashboard layout:
// app/dashboard/layout.tsx

export default function DashboardLayout({
  children,
}: {
  children: React.ReactNode;
}) {
  return (
    <div className="flex">
      <Sidebar />

      <main>
        {children}
      </main>
    </div>
  );
}
The layout can provide a persistent sidebar while the page content changes.
For example:
/dashboard
/dashboard/users
/dashboard/settings
can all share the same dashboard layout.
This makes nested layouts particularly useful for:
Admin dashboards
Account pages
Documentation websites
E-commerce applications
SaaS applications
Dynamic Routes With App Router
Dynamic routes allow you to create pages based on URL parameters.
For example:
app/blog/[slug]/page.tsx
The [slug] segment is dynamic.
A page can access the parameter:
export default async function BlogPost({
  params,
}: {
  params: Promise<{ slug: string }>;
}) {
  const { slug } = await params;

  return <h1>{slug}</h1>;
}
A URL such as:
/blog/nextjs-app-router
would provide:
slug = "nextjs-app-router"
Dynamic routes are especially useful for blogs, products, documentation, and news websites.
Data Fetching in Next.js App Router
Data fetching is one of the areas where the App Router changes the traditional Next.js development model.
With the Pages Router, developers commonly used:
getServerSideProps
getStaticProps
getStaticPaths
The App Router allows data fetching directly inside Server Components.
For example:
export default async function PostsPage() {
  const response = await fetch(
    "https://api.example.com/posts"
  );

  const posts = await response.json();

  return <PostList posts={posts} />;
}
This makes the component responsible for requesting the data it needs.
Caching and Revalidation
Next.js provides different approaches for controlling how fetched data is cached and refreshed.
For example:
fetch(url, {
  cache: "force-cache",
});
can be used when cached data is appropriate.
For periodically refreshed data:
fetch(url, {
  next: {
    revalidate: 60,
  },
});
This tells Next.js to revalidate the data according to the configured interval.
For data that should be requested without caching:
fetch(url, {
  cache: "no-store",
});
The important concept is to choose the caching strategy based on how frequently the underlying data changes.
For a blog article, cached or statically generated content may be appropriate.
For frequently changing information such as dashboards or live data, a different strategy may be required.
Loading UI With loading.tsx
The App Router also provides a convention for loading states.
You can create:
app/blog/loading.tsx
For example:
export default function Loading() {
  return <p>Loading articles...</p>;
}
Next.js can display this UI while the relevant route segment is loading.
This is useful for creating better perceived performance and providing immediate feedback to users.
Error Handling With error.tsx
You can also create an error boundary for a route segment:
app/blog/error.tsx
Example:
"use client";

export default function Error({
  reset,
}: {
  error: Error & { digest?: string };
  reset: () => void;
}) {
  return (
    <div>
      <h2>Something went wrong.</h2>

      <button onClick={() => reset()}>
        Try again
      </button>
    </div>
  );
}
This allows applications to handle rendering errors gracefully instead of showing an unhelpful blank page.
Route Handlers in Next.js App Router
The App Router also provides Route Handlers for creating backend API endpoints.
For example:
app/api/posts/route.ts
can define an API endpoint.
export async function GET() {
  return Response.json({
    success: true,
    message: "Posts fetched successfully",
  });
}
This creates an endpoint at:
/api/posts
Route Handlers can be useful when you need backend functionality directly inside a Next.js application.
App Router vs Pages Router
The two routing architectures can be compared conceptually:
Feature | App Router | Pages Router |
|---|---|---|
Main directory |
|
|
Server Components | Yes | No by default |
Nested layouts | Built-in | Requires additional patterns |
| Not used | Common |
| Not used | Common |
Route Handlers | Yes | API routes |
Loading UI |
| Custom implementation |
Error UI |
| Custom implementation |
Dynamic routes |
|
|
The App Router is designed around React Server Components and colocated routing conventions, while the Pages Router follows the older Next.js architecture.
Next.js App Router Best Practices
When building a production application with the App Router, consider these practices.
1. Keep Server Components as the default
Don't add "use client" unless the component actually requires client-side functionality.
2. Keep Client Components small
Instead of making an entire page interactive, isolate the interactive part into a smaller Client Component.
3. Fetch data close to where it is needed
Server Components make it easier to colocate data requirements with UI.
4. Use layouts for shared UI
Headers, sidebars, navigation, and dashboard shells are good candidates for layouts.
5. Choose caching based on data freshness
Static content and frequently changing data don't necessarily need the same caching strategy.
6. Use loading and error states
loading.tsx and error.tsx can make applications feel more responsive and resilient.
7. Optimize metadata and SEO
The App Router supports Next.js metadata APIs, making it possible to define page titles, descriptions, canonical URLs, Open Graph information, and other metadata close to the route.
Why Learn the Next.js App Router?
The App Router is important for developers building modern Next.js applications because it brings routing, layouts, Server Components, data fetching, loading states, error handling, and backend route handlers into a unified architecture.
Instead of thinking:
"Which special data-fetching function should I use?"
the App Router encourages a different mental model:
Where should this code run, what data does this component need, and how fresh does that data need to be?
Once this mental model becomes familiar, the App Router becomes much easier to work with.
Final Takeaway
The Next.js App Router is more than a replacement for the pages/ directory. It introduces a different way of structuring React applications around Server Components, Client Components, nested layouts, dynamic routing, and integrated data fetching.
The most important concepts to understand are:
app/directoryServer Components
Client Components
Nested layouts
Dynamic routes
Data fetching
Caching and revalidation
Loading states
Error handling
Route Handlers
Metadata and SEO
If you're starting a new Next.js project, learning these concepts will give you a strong foundation for building scalable, performant, and SEO-friendly web applications.
The key mental shift is simple:
Think about where your component runs, what data it needs, how interactive it needs to be, and how fresh that data should remain.
That approach makes the Next.js App Router much easier to understand and use effectively.