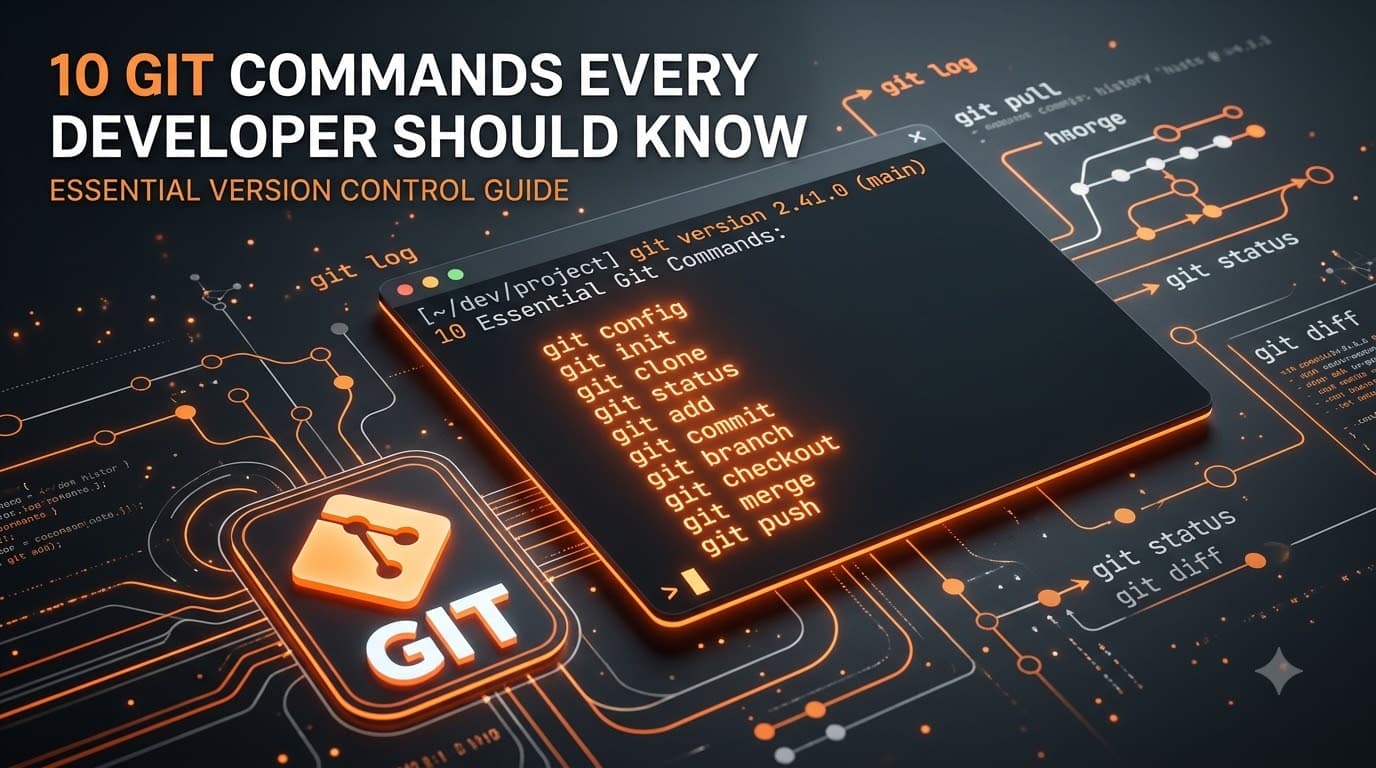
10 Git Commands Every Developer Should Actually Know
Git is an essential tool for modern software development. Whether you work with React, React Native, Node.js, Next.js, Python, Java, or another technology, Git helps you track changes, collaborate with other developers, and safely manage your code.
You don't need to memorize hundreds of Git commands to become productive.
If you understand a small set of essential commands and know when to use them, you can handle most everyday Git workflows with confidence.
In this guide, we'll cover 10 Git commands every developer should actually know, with practical examples and explanations of when to use each one.
Git Basics: How the Workflow Works
Before looking at individual commands, it helps to understand the basic Git workflow.
Working Directory
       ↓
    git add
       ↓
Staging Area
       ↓
  git commit
       ↓
Local Repository
       ↓
   git push
       ↓
Remote Repository
When you modify a file, Git detects the change in your working directory.
You then stage the change with git add, save it to your local repository with git commit, and eventually upload your commit to a remote repository such as GitHub using git push.
Now let's look at the commands you'll use along the way.
1. git status
If you only memorize one Git command first, make it:
git status
git status tells you what is happening in your repository.
It can show:
Your current branch
Modified files
Staged files
Untracked files
Changes that are ready to commit
Whether your branch is ahead or behind its remote branch
For example:
git status
might show:
On branch feature/login

Changes not staged for commit:
  modified: src/Login.jsx

Untracked files:
  src/auth.js
This immediately tells you that Login.jsx has been modified and auth.js is a new file.
When should you use it?
Use git status frequently.
A good habit is:
git status
before:
Creating a commit
Switching branches
Pulling changes
Stashing work
Starting a new task
It is one of the safest ways to understand the current state of your repository.
2. git add
After making changes, you need to tell Git which changes should be included in your next commit.
That's what git add does.
To stage a specific file:
git add src/Login.jsx
To stage multiple files:
git add src/Login.jsx src/auth.js
To stage all changes:
git add .
You can then check the result:
git status
You may see:
Changes to be committed:
  modified: src/Login.jsx
  new file: src/auth.js
Important
git add does not create a commit.
It only moves changes into the staging area.
Think of it like preparing the files that you want to include in your next snapshot.
Modified files
      ↓
  git add
      ↓
Staging area
A useful habit
Instead of blindly running:
git add .
on important commits, consider reviewing what you're staging:
git status
git diff --staged
This helps prevent accidentally committing unrelated files.
3. git commit
Once your changes are staged, create a commit:
git commit -m "Add login validation"
A commit represents a snapshot of your staged changes.
A good commit message explains what changed.
Good:
git commit -m "Fix authentication token refresh"
Also good:
git commit -m "Add user profile validation"
Less useful:
git commit -m "changes"
or:
git commit -m "update"
Clear commit messages make project history easier to understand.
Typical workflow
git status
git add .
git commit -m "Add user profile"
Your changes are now stored in the local Git history.
They are not automatically on GitHub yet.
For that, you need git push.
4. git branch
Branches allow developers to work on different features or fixes without directly changing the main development line.
List your local branches:
git branch
Create a branch:
git branch feature/login
Delete a branch after you're finished:
git branch -d feature/login
A typical project might have:
main
feature/login
feature/profile
bugfix/payment
The idea is to keep independent work separated.
Why are branches useful?
Imagine you're working on a new payment feature while another developer is fixing a production bug.
Without branches, both changes could become mixed together.
With branches:
main
 |
 +--- feature/payment
 |
 +--- bugfix/payment-error
Each developer can work independently.
5. git switch
Once you understand branches, you need to move between them.
Modern Git provides git switch for this.
Switch to an existing branch:
git switch main
Create and switch to a new branch:
git switch -c feature/login
For example:
git switch main
git pull
git switch -c feature/user-profile
You are now working on:
feature/user-profile
rather than main.
Why use switch?
Older Git tutorials often use:
git checkout
for both branch switching and file restoration.
Modern Git separates these concepts:
git switch
→ branch operations

git restore
→ restore file changes
This makes the commands easier to understand.
6. git pull
When other developers push changes to the remote repository, your local branch may become outdated.
To update it, you commonly use:
git pull
For example:
git switch main
git pull
You can also specify the remote and branch:
git pull origin main
A typical workflow before starting new work is:
git switch main
git pull
git switch -c feature/new-feature
This helps you create your feature branch from an up-to-date version of main.
Pull vs fetch
You may also encounter:
git fetch
git fetch downloads remote updates without integrating them into your current branch.
git pull commonly fetches and then integrates the changes.
If you want to inspect remote changes before deciding what to do, git fetch gives you more control.
7. git push
After creating commits locally, you usually need to send them to the remote repository.
That's what git push does.
git push
For a new branch:
git push -u origin feature/login
The -u option establishes the upstream relationship for that branch.
After that, you can generally use:
git push
for subsequent pushes.
Typical development workflow
git add .
git commit -m "Add login screen"
git push
Your commits are now available on the remote repository.
If you're working with GitHub, your team can then review the branch and create or update a pull request.
8. git merge
Branches eventually need to be combined.
git merge integrates changes from one branch into another.
For example, suppose you have:
main
feature/login
After completing the feature, you can merge it into main:
git switch main
git merge feature/login
Git will attempt to combine the histories.
If there are no conflicting changes, the merge may complete automatically.
If Git finds conflicting changes, you'll need to resolve the conflicts manually.
Example
Suppose two branches changed the same part of a file.
Git may mark the file with conflict markers:
<<<<<<< HEAD
Current branch code
=======
Incoming branch code
>>>>>>> feature/login
You need to edit the file and decide what the final code should be.
Then:
git add .
git commit
The important thing is to understand the changes rather than blindly selecting one side.
9. git stash
Sometimes you're working on a feature but need to switch branches before your work is finished.
You don't want to commit incomplete changes.
That's where git stash is useful.
Run:
git stash
Your local changes are temporarily stored.
Now you can switch branches:
git switch main
Do whatever you need to do.
Later, return to your feature branch:
git switch feature/login
Then restore the stashed changes:
git stash pop
Useful stash commands
List your stashes:
git stash list
Create a named stash:
git stash push -m "WIP login changes"
Apply a stash without removing it:
git stash apply
Remove the latest stash after applying it:
git stash pop
Real-world example
Imagine you're halfway through a login feature when your team asks you to immediately fix a production issue.
You can do:
git stash
git switch main
Fix the production issue.
Then return:
git switch feature/login
git stash pop
Your unfinished work is back.
10. git revert
Mistakes happen.
Sometimes you need to undo a commit that has already been pushed to a shared repository.
That's where git revert is particularly useful.
For example:
git revert 8a91d2c
Git creates a new commit that reverses the changes introduced by the specified commit.
Suppose your history is:
A → B → C
If C introduced a problem, reverting it creates another commit:
A → B → C → Revert-C
The original commit remains in the history.
Why not simply use reset?
You may have seen:
git reset
Reset can rewrite branch history depending on how it is used.
That's often undesirable when commits have already been shared with other developers.
For published/shared history, git revert is generally the safer approach because it records the undo as a new commit.
Git Revert vs Git Reset
This distinction is important for developers.
Command | Typical purpose |
|---|---|
| Create a new commit that reverses an earlier commit |
| Move the current branch/HEAD and potentially rewrite local history |
| Restore files or unstage changes |
For example:
Undo a published commit
git revert <commit>
Redo a recent local commit while keeping changes staged
git reset --soft HEAD~1
Unstage a file
git restore --staged app.js
Don't treat these commands as interchangeable.
Bonus: 5 Git Commands to Learn Next
The 10 commands above cover a large portion of everyday Git usage.
Once you're comfortable with them, learn these next.
git diff
See changes that haven't been staged:
git diff
See staged changes:
git diff --staged
This is extremely useful before committing.
git log
View commit history:
git log
Compact version:
git log --oneline
A useful visual version:
git log --oneline --graph --decorate --all
git rebase
Rebase a feature branch onto the latest main:
git switch feature/login
git rebase main
Rebase can create a cleaner, more linear history, but it rewrites commits. Avoid rebasing shared history without coordinating with your team.
git cherry-pick
Apply a specific commit to your current branch:
git cherry-pick <commit>
This is useful when you need one particular fix without merging an entire branch.
git reflog
If you think you've lost a local commit or accidentally moved a branch:
git reflog
Reflog records local reference movements and can often help you locate commits that appear to have disappeared.
A Practical Git Workflow for Developers
Here's a simple workflow you can use for a typical feature.
Step 1: Update main
git switch main
git pull
Step 2: Create a feature branch
git switch -c feature/user-profile
Step 3: Write your code
Make your changes.
Step 4: Check the repository
git status
Step 5: Review your changes
git diff
Step 6: Stage the changes
git add .
Step 7: Review staged changes
git diff --staged
Step 8: Commit
git commit -m "Add user profile"
Step 9: Push
git push -u origin feature/user-profile
Step 10: Create a pull request
Your team can now review the feature before it is merged into the main branch.
10 Git Commands Cheat Sheet
# | Command | What it does |
|---|---|---|
1 |
| Shows repository status |
2 |
| Stages changes |
3 |
| Creates a commit |
4 |
| Creates/lists/manages branches |
5 |
| Switches branches |
6 |
| Gets and integrates remote changes |
7 |
| Sends commits to a remote |
8 |
| Combines branches |
9 |
| Temporarily stores unfinished changes |
10 |
| Creates a commit that reverses another commit |
Commands to learn next
git diff
git log
git fetch
git rebase
git cherry-pick
git restore
git reset
git reflog
Common Git Mistakes to Avoid
1. Running git add . without checking what changed
You may accidentally stage files you didn't intend to commit.
Check:
git status
first.
2. Using git reset --hard casually
This command can discard local changes.
Always make sure you don't need the changes before using it.
3. Rebasing shared branches
Rebase rewrites commit history.
Be careful when the commits are already being used by other developers.
4. Using git push --force without understanding the impact
Force pushing can overwrite remote history.
If you need to rewrite a branch that you control, understand exactly what will be replaced and follow your team's workflow.
5. Making huge commits
A commit containing hundreds of unrelated changes is difficult to review and debug.
Prefer focused commits that represent logical changes.
Final Takeaway
You don't need to memorize every Git command to work effectively with Git.
Start with these 10:
git status
git add
git commit
git branch
git switch
git pull
git push
git merge
git stash
git revert
Then gradually learn:
git diff
git log
git fetch
git rebase
git cherry-pick
git restore
git reset
git reflog
The most important thing is not memorizing commands. It's understanding the Git workflow:
Check
  ↓
Stage
  ↓
Commit
  ↓
Push
  ↓
Review
  ↓
Merge
Once that workflow becomes familiar, Git becomes much less intimidating.
The next time something goes wrong, don't immediately panic or delete the repository. Check the state first:
git status
git log
git reflog
Git keeps a detailed history of your work, and understanding that history is what makes you confident with version control.